How aligners are made
How Are Active Aligners Made?
From your first scan to the finished tray, here is how a custom set of medical-grade, tri-layer clear aligners is digitally planned, thermoformed and finished for your smile.
Clear aligners explained
First, what Active Aligners and clear aligners are
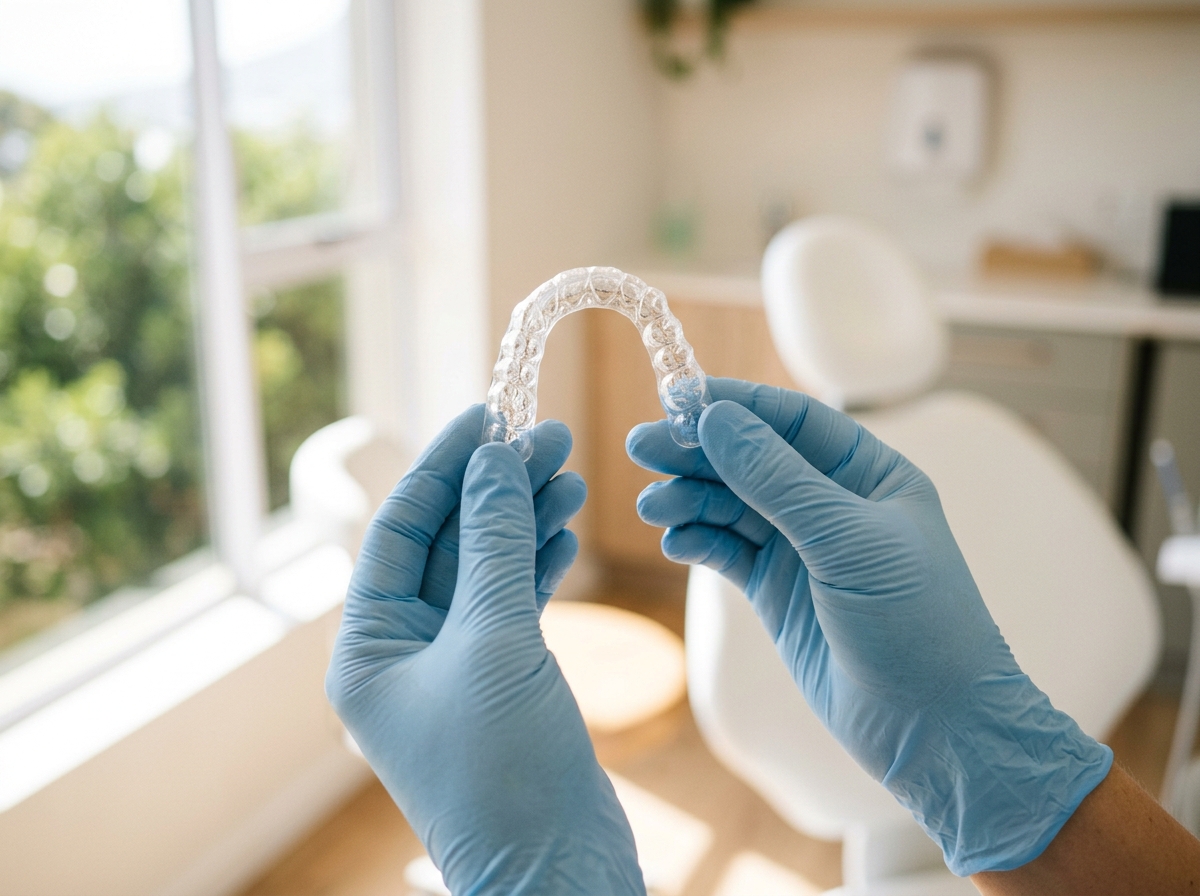
Prescribed by your dental professional, Active Aligners are clear aligners developed specifically for aligning your teeth in a predictable, smooth, clear and comfortable manner. Instead of metal brackets, wires or screws, you’ll be wearing a thermoplastic material to achieve your desired results, while going unnoticed by the people around you. Additional information and in-depth FAQs can be found here.
Clear aligners work on basic tooth movement principles. They correct crooked teeth, gaps or rotation while achieving the desired results in an organised and planned fashion. These customised trays are “invisible” and move the tooth in the desired direction. This is achieved by wearing a series of Active Aligners, each for 22 hours a day, 1 to 2 weeks at a time (one stage), which move the teeth per stage until their optimal alignment has been reached.
What makes them different
Engineered to move teeth gently, and accurately.
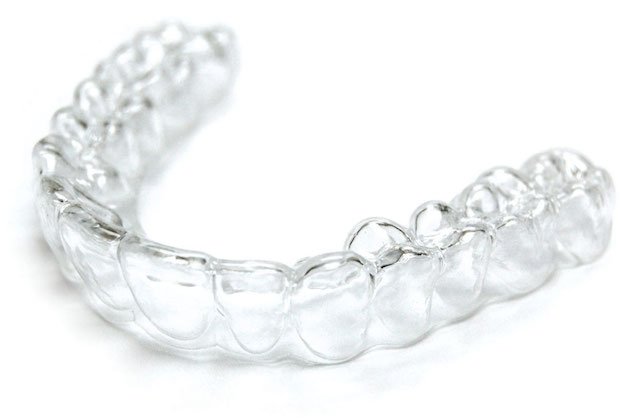
It is not just that they are clear. The material, the fit and the trimline are what make Active Aligners comfortable, predictable and effective.
A 2mm extended trimline
Our aligners extend about 2mm past the gumline, so they grip more of each tooth. That means better retention and a more even, controlled force on every tooth, the whole way through treatment.
Tri-layer shape-memory material
Firm, clear outer layers around a soft, springy core give a longer, more continuous and gentle force, with shape memory that keeps working between visits, so your teeth move steadily and comfortably.
Positive-pressure thermoforming
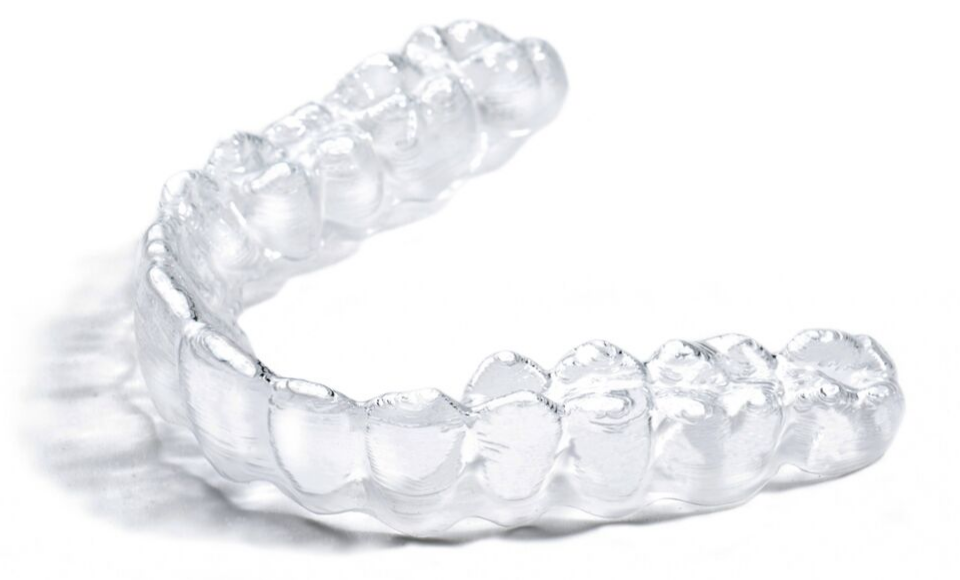
Each tray is thermoformed under positive pressure for an accurate fit, right down to the gumline and the fine detail of your teeth, for comfort and a precise result.
Based on independent in-vitro research into gingival margin design and aligner retention (Cowley and colleagues). General evidence on trimline design, not a specific Active Aligners outcome claim.
At your provider
Your treatment starts in the chair
Oral health check
Your provider confirms your teeth and gums are healthy and ready for aligner treatment.
Impressions
A digital scan or physical impression captures the exact shape of your teeth.
Quality control images
Clear photos of your smile are recorded so progress can be tracked accurately.
X-rays
Where needed, x-rays give your provider a full picture of the roots and bone.
In the Active Aligner lab
Then your aligners are built
Scans and 3D imaging
Your scan becomes a precise digital replica of your teeth.
3D treatment planning
Every stage of movement is planned, so the end result is mapped before you begin.
3D model printing
A physical model is printed for each stage of your treatment.
Thermoforming
Tri-layer thermoplastic is pressure formed over each model to create your aligners.
Quality check
Margins, borders, thickness and arch form are inspected before delivery.
The Active Aligner laboratory procedure
Inside the lab: how your custom aligners are digitally planned, thermoformed and finished.
Treatment planning
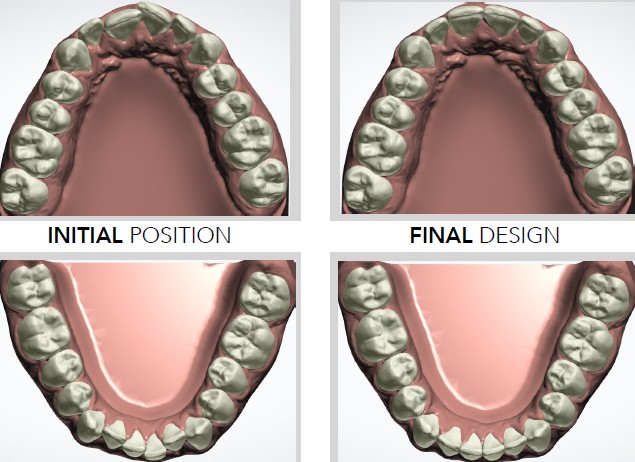
3D imaging and treatment planning
A 3D scan or impression is taken to achieve a replica of your teeth. Once the imaging is ready, 3D models are manufactured for each stage of the Active Aligner treatment and a smile summary is created. A virtual setup is then prepared to show the dental professional the planned treatment through each stage, as well as the end result. This gives an edge to Active Aligner therapy compared to traditional braces treatment, because the provider sees the end result even before you begin treatment. Your plans are planner-created and dentist reviewed and approved.
Precision printing
3D models
A physical model is printed for every stage of treatment. Each model represents the planned tooth position at that point in the journey, giving the laboratory the precise form needed to make the next aligner.
Shaping your aligners
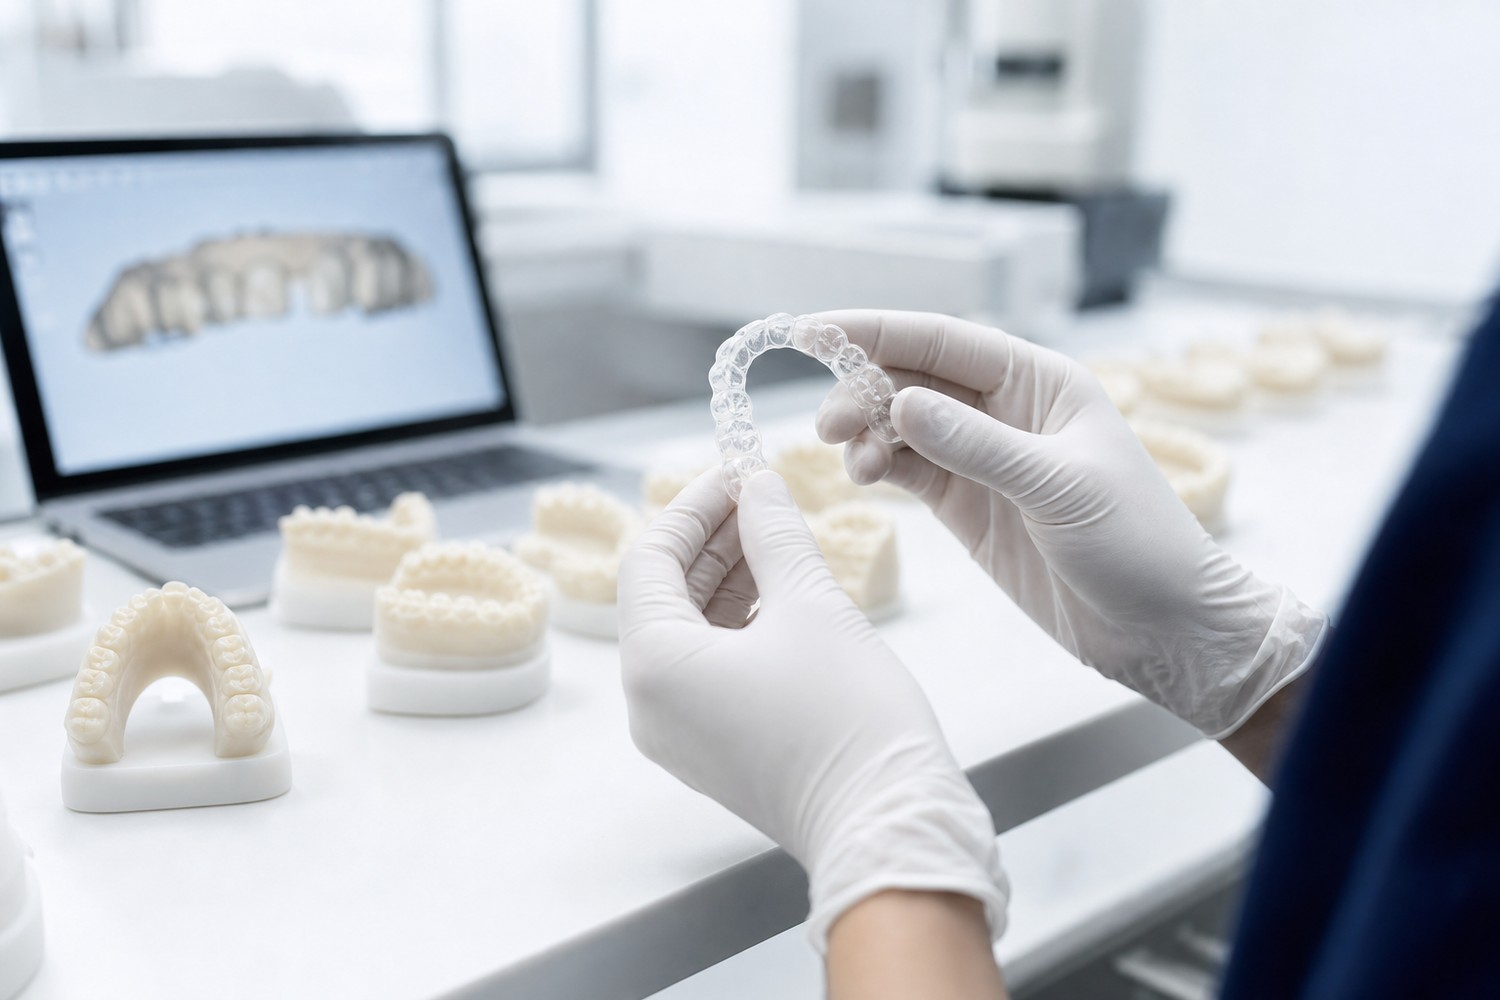
Thermoforming
The thermoforming stage is where 3D printed models meet the thermoplastic material used to create Active Aligners. High pressure thermoforming is required to form aligners over 3D printed models. This matters because, to create clear aligners with predictable tooth movement, accuracy is required across the teeth, the gum line definition and the gingival textures.
Final inspection
Quality check
Before allowing Active Aligners to be delivered to your provider, a thorough quality check is done to check all margins, borders, thicknesses, numbering and arch form of your aligners. The Active Aligner difference is clear. Learn more here.

Wearing your aligners
Basic clear aligner instructions
All Active Aligners are delivered to your provider with a comprehensive patient instruction manual. Active Aligners are also known as clear braces, invisible braces, clear aligners and see-through braces.
- Aligners are to be worn 20 to 22 hours a day
- Switch to the next set after 1 to 2 weeks, or as per your provider’s instruction
- Seat the aligner with the help of chewies
- Proper insertion and removal are important
- Cleaning the aligners is important to maintain good oral hygiene